Introduction to CSS Container Queries

Nelson Michael is a frontend developer and technical writer from Nigeria who enjoys building stuff and sharing what he knows through writing.
Published on

Responsive web design is an essential component of web development. As front-end developers, we must consider the plethora of new resolutions and devices, but creating a website version for each resolution and new device would be impractical, if not impossible. So, how do we go about resolving this issue?
Responsive web design, also known as RWD, answers that question. It is a modern web design technique that allows websites and pages to render or display on all devices and screen sizes by adjusting to the viewport of that device, whether it's a desktop, laptop, tablet, or smartphone.
Furthermore, while following the concept of RWD, developers must consider flexibility and fluid layout changes as many devices can switch orientation at the user's whim.
Over time, we've seen a shift in how developers approach the concept of responsive web design, from using tables for layouts to resolution-dependent layouts, to creating a mobile-only version of a website and putting it on a subdomain, to using media queries for defining changes based on specific breakpoints.
However, a new approach or paradigm to responsive design is upon us yet again and follows a component-driven development (CDD) pattern. CDD is not a new concept; for decades, modularization has been a fundamental principle of software engineering.
In this article, we will discuss container queries and how they use the concept of CDD to change the way responsive design is done. We will also learn how to use and experiment with container queries on the browser as they are not fully available.
What are container queries?
Here's a quick definition: container queries specify changes to an element in relation to its parent container or element rather than the entire viewpoint (screen size).
Container queries enable developers to approach responsiveness from a component standpoint, where elements on a page are designed to be responsive as individual units. This means that regardless of where these elements are placed on the page, they will adjust based on the parent element's size rather than the entire page's size.
Setting the container property on an element enables containment on that element. This means that an element and its contents are independent of the rest of the document tree. This enables the browser to recalculate layout, style, paint, size, or any combination for a specific area of the DOM rather than the entire page, resulting in improved performance.
Container queries provide a new and refreshing approach to responsiveness; however, it is by no means a replacement for media queries; instead, consider it a cool new addition to the responsive toolbox.
How to use container queries
Container queries are still in the experimental stage, so we can't use them in stable browsers just yet. However, we can use it in Google Chrome Canary by enabling the CSS container queries feature flag under chrome://flags. Let's take a look at how to do it:
- Download the Chrome Canary browser here, then go ahead and install it
- In the search bar, type chrome://flags to see all experimental features.
- Search for "Enable CSS Container Queries", and enable it. When you enable container queries, you will receive an automatic "Relaunch browser" notification; simply go ahead and click relaunch, and you should have container queries enabled successfully.
Alternatively, you can use a polyfill from chrome labs that take advantage of the resizeObserver to unlock container queries for cross-browser use. You can find that here.
What problems do container queries solve?
Container queries offers a unique solution for developers working on large projects where different components make up different parts of the webpage. They allow components to modify their appearance to fit the context in which they're put. This means that the components can be used repeatedly, making them genuinely reusable.
Many websites have components that need to change their layout based on the container's available width. This may not always be related to the viewport's size but rather to where the component is placed in the layout. Container queries provide a solution for developers to change component style and layout depending on the available width of the container or parent element.
Here’s an example so that we can see the power of container queries:
https://codepen.io/D_kingnelson/embed/YzrdgGj?editors=1100
Note: Make sure to view this example in Chrome Canary with container-queries enabled. See how to enable container queries in the previous section.
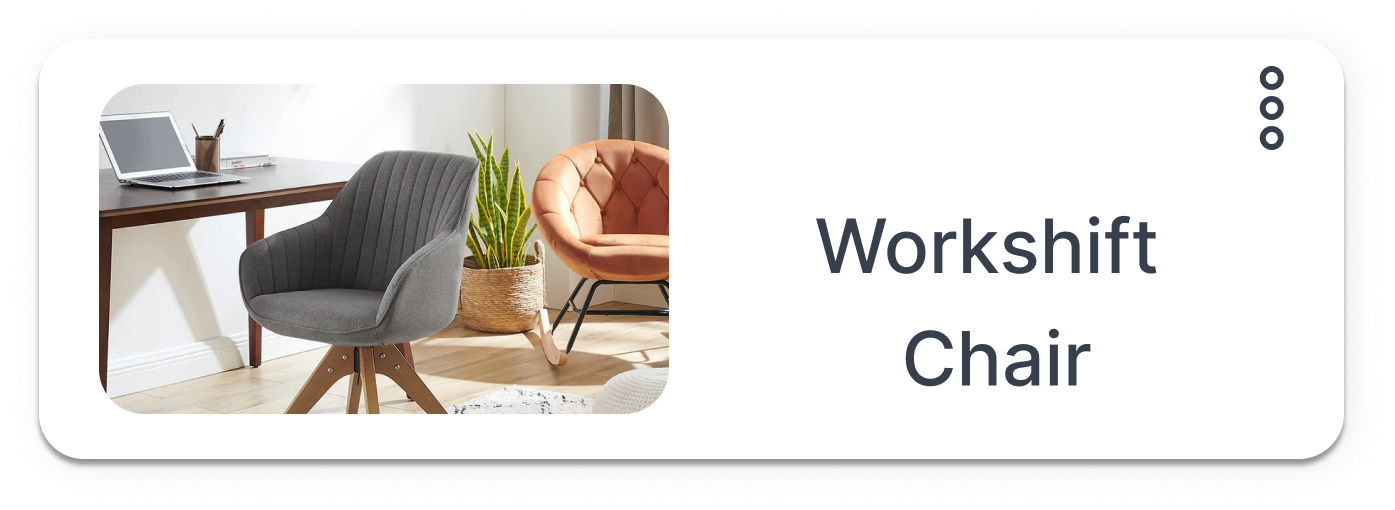
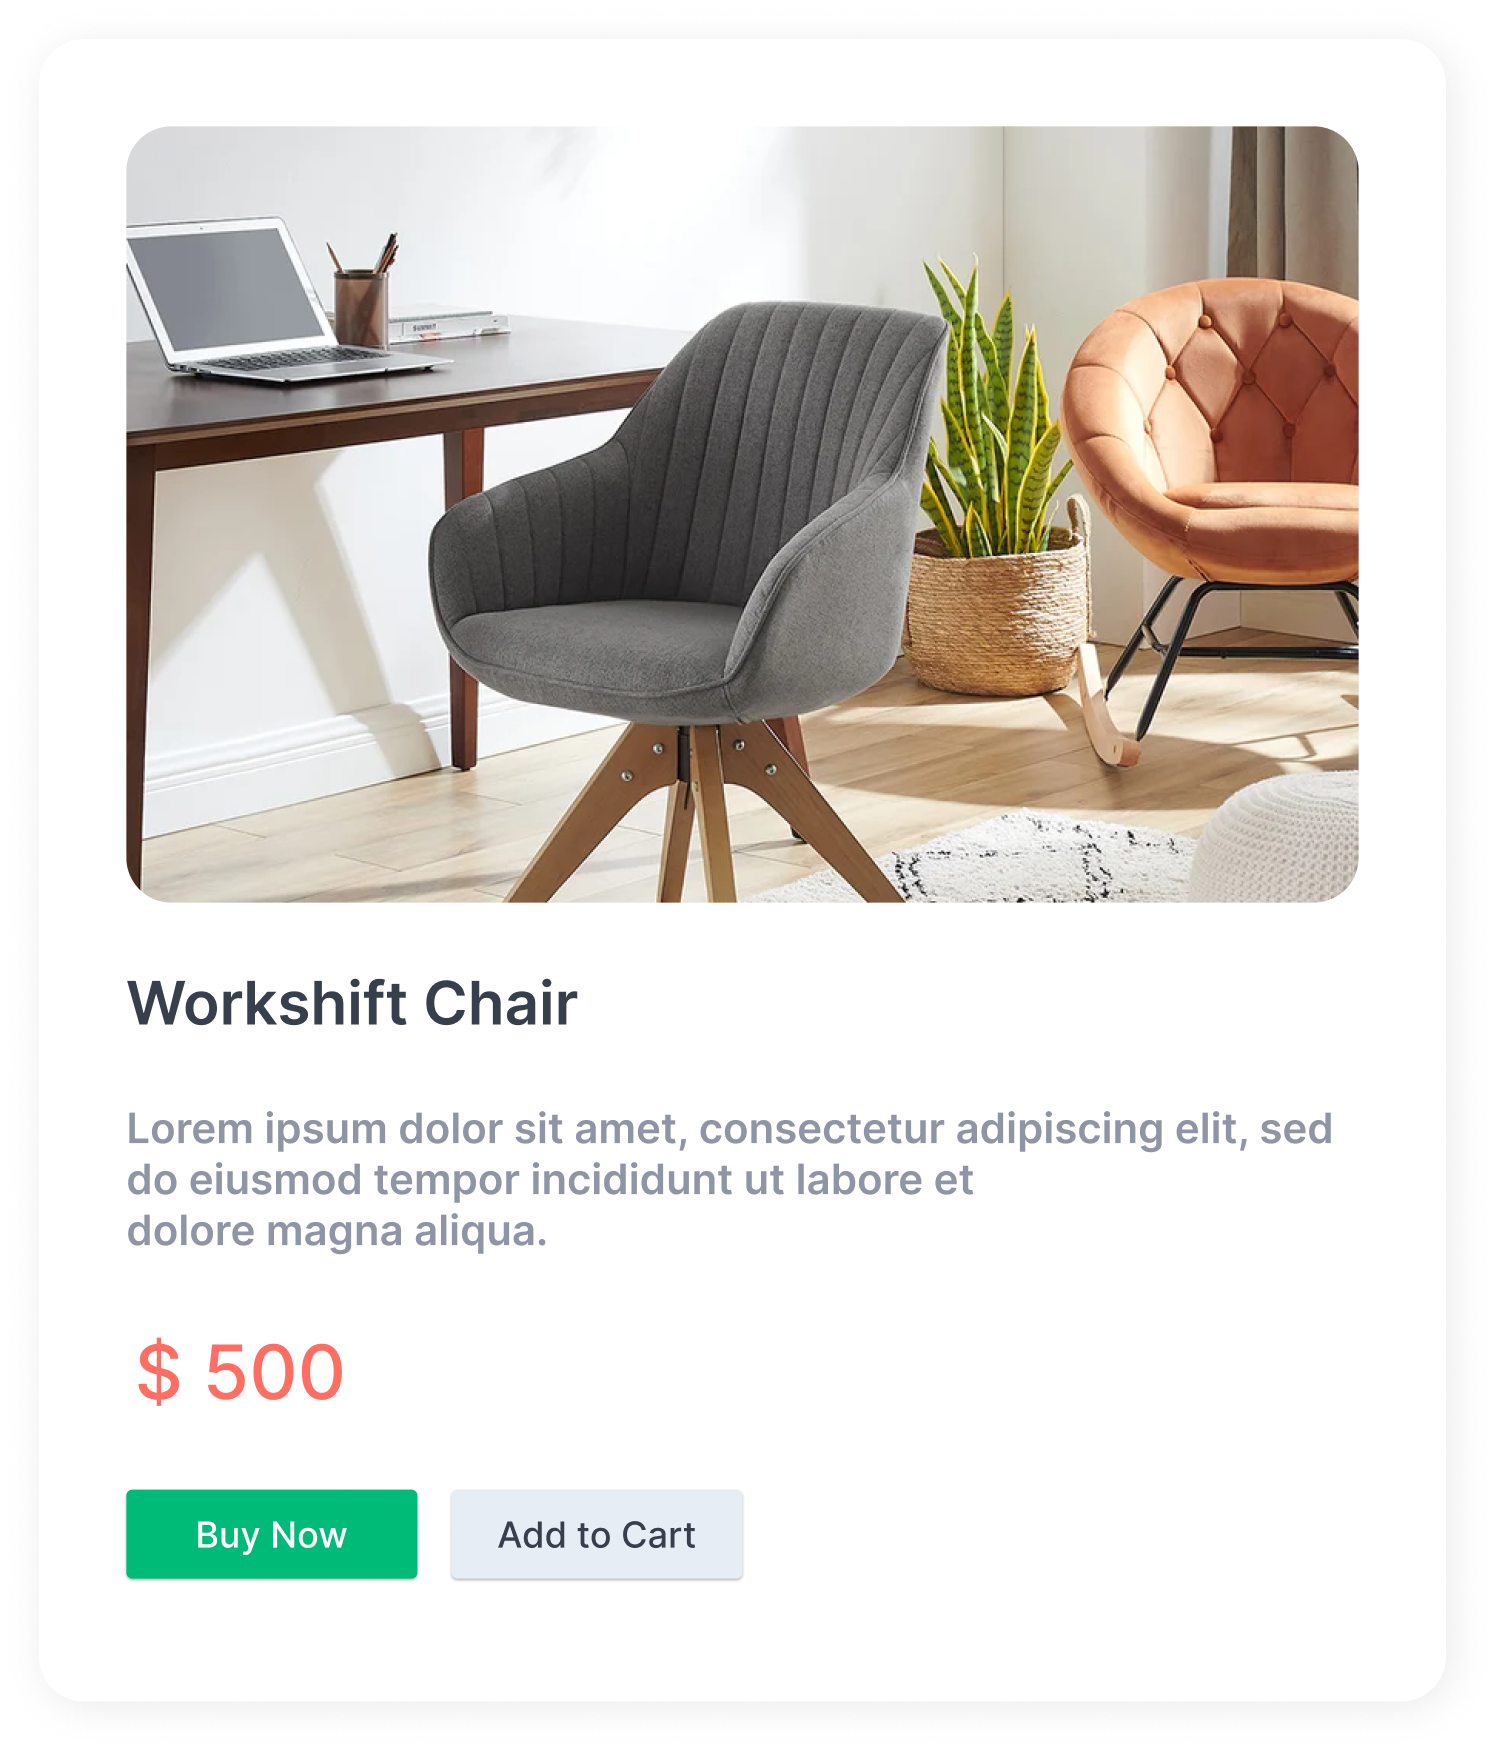
We created a simple shopping card that resizes and adapts to fit in any layout and container in our example. Our container has a width of 100%, this means our card component will have a width of 1600px at a viewport width of 1600px, and 2040px at a viewport width of 2040px.
Now, we want our container to look slightly different at different breakpoints depending on its available space while remaining responsive. We could do this with media queries, but to do that, we'd have to make changes regarding the viewports meta-information rather than the container itself. This means that we have to constantly watch for changes to the screen size and then adjust our component according to that particular screen size.
Although this might not seem like an issue, it could quickly lead to the use of too many media queries to target if we had multiple containers because we would need to make sure all elements on the page, not just the card component, are responsive.
This is where container queries come into play.
Here's the basic HTML structure of our example. Next, let's go over how we can turn this into a container:
Note: This is just the structure of our HTML document. See CodePen for complete code.
To query elements, we first need to make the parent element a container, and we do that by setting the container property on the parent element. The container property takes two values: container-type and container-name.
Notice how the element with the .shopping-card class is wrapped by a parent element? This would be our parent container, and our shopping-card would adjust its size, layout, and styles based on the meta information of this element.
Let's go ahead and make our element with the container class a container, so its children elements can be queried based on its meta-information.
We set the container property to inline-size because we want containment to happen on the inline-axis.
The container property and its value are set on our .container class, which automatically turns the container element into a queryable container. So now, we can make changes to the shopping-card element whenever the size of our container element changes.
We can change the style or layout of our shopping-card element at certain breakpoints. We can set these breakpoints similarly to how media-queries breakpoints are set.
Let's look at the breakpoints we set in our codepen example to see how container queries handle changes based on our breakpoints and how container queries compare to media queries.
In our example, we started by building out how our shopping-card component would look when its parent container has the smallest width, which is any width less than 200px. We want it to look like this:
This would be our starting point for our card component. Since its parent container is now a container that can be queried, we can go ahead and start making changes to layout and style at different breakpoints depending on the current width of the parent container.
We do that by setting breakpoints. Our first breakpoint is when our parent container is at a min-width of 200px (200px or greater), we start defining a new look for our shopping-card container. Here we want our container to look like this:
Here’s the code for that:
We want our shopping-card element to look slightly different at another breakpoint. This would follow the same process at every new breakpoint we set.
Container queries enable us to create more robust and reusable UI components that can adapt to nearly any container and layout, as shown in the example. This would have been difficult to achieve if we were using media queries because media queries rely on the information on the entire viewport.
Because media queries rely on the viewport, it would be difficult to achieve a layout where our shopping-card element is displayed on two parts of the same webpage, one where it has enough space to expand its width and one where it doesn't have as much space.
Here’s what we mean:
When the viewport is at a minimum width of 300px, regardless of where the shopping-card elements are placed on the page, both shopping-card elements will look the same in size, style, and layout. Remember that each card element has a different amount of space allocated to it.
Following the media query example, we can see how it defeats the purpose of having a reusable component that looks good regardless of its placement.
However, with container queries, the card component could be placed in a narrow or wide column on the webpage and would still look good and responsive. Furthermore, if there is enough space in our container queries example, it displays as a two-column layout; otherwise, it has a block layout.
In our example above, container queries helped us achieve this:
A block layout for smaller sections of the webpage:

A two-column layout for when we have more space:

And on a much larger width size, we could display more information:

The examples above show the power of container queries and how vital they are in a component-driven development world. Now that we have a basic understanding of container queries and how they function, let's go over their properties to know when to use each of them.
Container queries properties
Note: The properties mentioned follow the level 3 draft specification for the CSS containment module.
Wrapping up
CSS Container Queries are an impending approach for moving beyond media queries tied to the viewport. For many years, developers have desired the ability to change an element's width based on its width. Therefore, it is only logical that elements have a way to be responsive based on their parent's container meta information rather than the entire viewport; this would assist developers in building encapsulated components that are responsive and genuinely usable.
Thankfully container query is coming. Although this cool new feature is not fully supported yet, it is worth knowing that something like this would be possible. In the future, we're hoping to see the final draft specifications for this feature so that we all can start using it.
Useful links
Data-rich bug reports loved by everyone
Get visual proof, steps to reproduce and technical logs with one click


Continue reading


Put your knowledge to practice
Try Bird on your next bug - you’ll love it
“Game changer”
Julie, Head of QA


Overall rating: 4.7/5
Try Bird later, from your desktop